
In this article we will learn how to decrease and increase the text towards the cell border you can use “Indent” option in Microsoft Excel 2010. It is a part of “Format Cells”, in “Alignment” tab in “Text Alignment”. There are two types of Indent one is “Increase Indent” and second is “Decrease Indent”.
“Decrease Indent is used to move the content closer to the cell border”
“Increase Indent is used to move the content further away from the cell border”
To understand Changing the Indentation in Microsoft Excel 2010/2013,let’s take an example and understand:-
Wrap Text by using the shortcut command
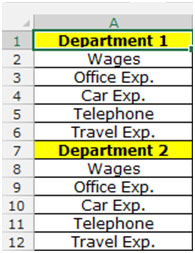
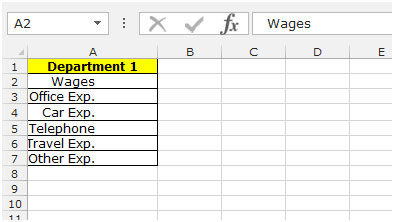
I have text in cell A1 to A12, to change the indentation in a cell follow the below mentioned steps:-
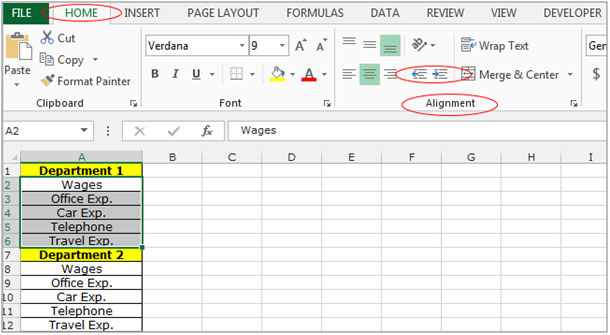
Step 1: Select the list of expenses below each division for example: select the cells A2:A6 (a group of expenses for Department 1).
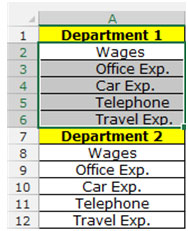
Step 2: Go to “Home” tab in the group of “Alignment” click on the “Increase Indent” icon on the formatting tool bar several times until you reach the desired indentation.
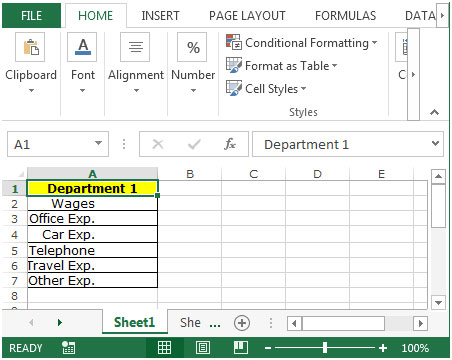
Step 3: To go back the position click on “Decrease Indent” icon on the formatting toolbar several times until you reach the desired indentation.
OR
Step 1: Select the range A2:A7 and Press the key “CTRL + 1”.
Step 2: Format Cells dialog boxwill appear, select the “Alignment” tab and in the Indent box change the number of characters to Indent.
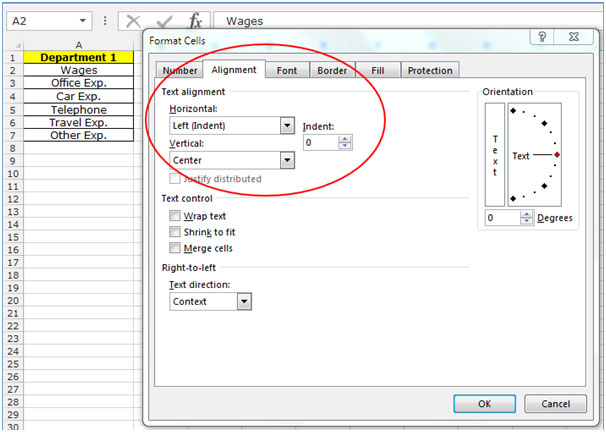
Step 3: Select the Right (Indent) in Horizontal.
Step 4: Type 5 in indent.

Click on Ok.
The applications/code on this site are distributed as is and without warranties or liability. In no event shall the owner of the copyrights, or the authors of the applications/code be liable for any loss of profit, any problems or any damage resulting from the use or evaluation of the applications/code.


